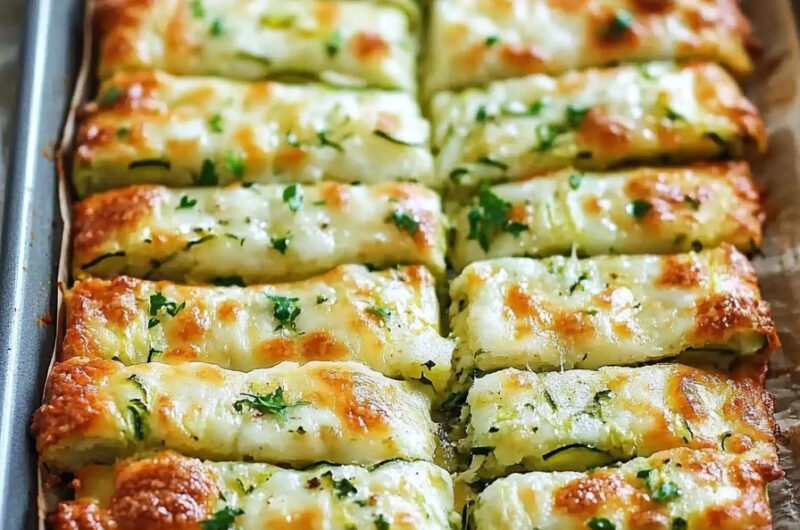
Craving something cheesy, crispy, and satisfying but want to keep it low-carb? Let me introduce you to Low Carb Cheesy Zucchini Breadsticks—a perfect combination of health and indulgence. These breadsticks are not only keto-friendly but also gluten-free, making them an excellent option for anyone looking to enjoy a flavorful snack or appetizer without the guilt. Whether you’re pairing them with marinara sauce or enjoying them solo, these zucchini breadsticks are a must-try!
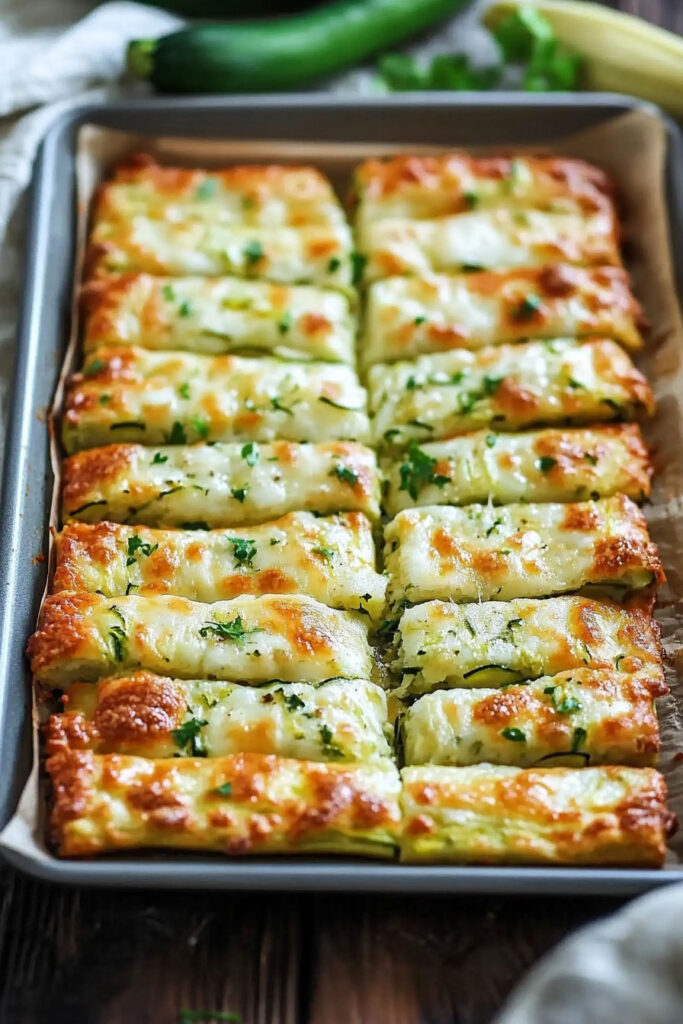
Why Zucchini?
Zucchini is a nutritional powerhouse, loaded with antioxidants like lutein and zeaxanthin, as well as vitamins A, C, and K. It’s low in calories and carbs while being high in fiber, making it a great choice for weight management and gut health. Plus, its mild flavor makes it a versatile ingredient that blends perfectly into recipes like these breadsticks.
Ingredients List
For the Breadsticks
- 4 cups grated zucchini (about 2 large zucchinis)
- ½ cup shredded mozzarella cheese
- ⅓ cup finely shredded parmesan cheese
- 1 large egg
- 1 teaspoon garlic parsley salt (or garlic powder + dried parsley)
For the Topping
- 1 cup grated cheese of your choice (mozzarella or Mexican blend works best)
Required Kitchen Tools
When preparing Low Carb Cheesy Zucchini Breadsticks, having the right tools on hand can make the process seamless and enjoyable. Here’s what you’ll need:
- Box Grater or Food Processor: To grate the zucchini into fine shreds quickly and efficiently.
- Cheesecloth or Clean Kitchen Towel: Essential for squeezing out excess moisture from the grated zucchini, ensuring a crispy texture for the breadsticks.
- Mixing Bowl: A large bowl to combine all the ingredients without making a mess.
- Baking Sheet: A flat baking sheet lined with parchment paper to prevent sticking and ensure even cooking.
- Parchment Paper: Helps in spreading out the zucchini mixture easily and prevents it from sticking to the pan.
- Spatula: For spreading and leveling the zucchini mixture evenly on the baking sheet.
These tools will help you achieve perfectly crispy, cheesy zucchini breadsticks with minimal effort!
Step-by-Step Preparation
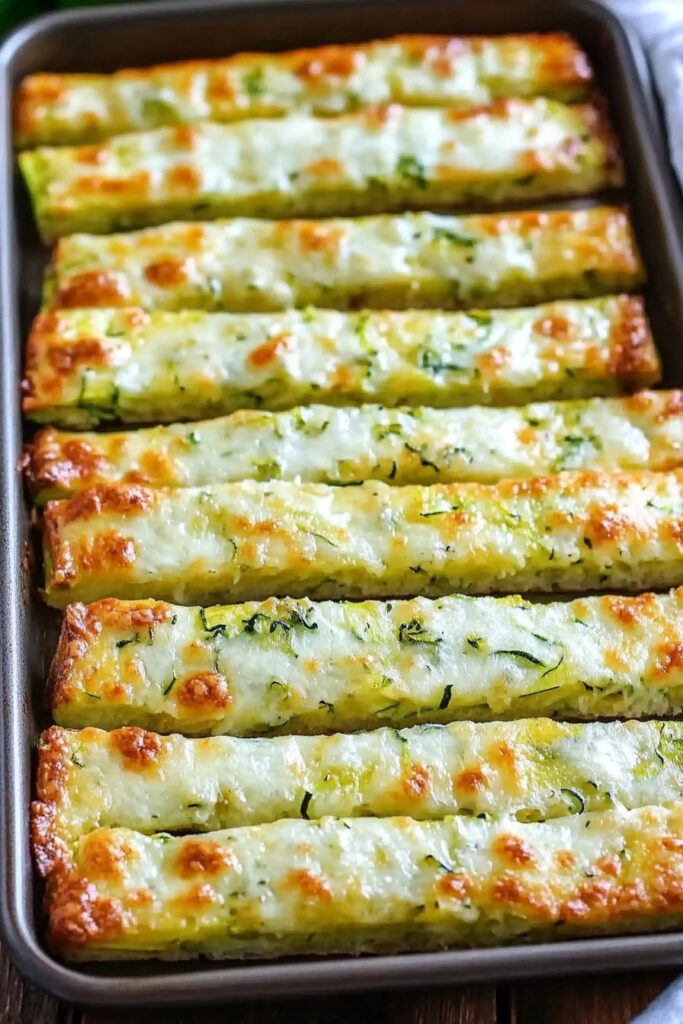
Let’s dive into the fun part—making these delicious Low Carb Cheesy Zucchini Breadsticks! Follow these steps for a foolproof recipe:
Step 1: Prepping the Zucchini
- Start by grating 4 cups of zucchini using a box grater or food processor.
- Place the grated zucchini in a cheesecloth or clean kitchen towel and squeeze out as much moisture as possible. This step is crucial to ensure your breadsticks don’t turn out soggy.
Step 2: Mixing the Ingredients
- In a large mixing bowl, combine the squeezed zucchini, ½ cup shredded mozzarella cheese, ⅓ cup parmesan cheese, 1 egg, and 1 teaspoon garlic parsley salt.
- Mix everything thoroughly until well combined. The mixture should hold together but still feel slightly moist.
Step 3: Shaping the Breadstick Base
- Preheat your oven to 425°F (220°C).
- Line a baking sheet with parchment paper and lightly grease it.
- Spread the zucchini mixture onto the baking sheet in a thin, even layer, about ½ inch thick. Use a spatula to smooth it out for uniform cooking.
Step 4: Baking the Base
- Bake the zucchini base in the preheated oven for about 15 minutes or until it sets and starts turning golden around the edges.
Step 5: Adding the Cheese Topping
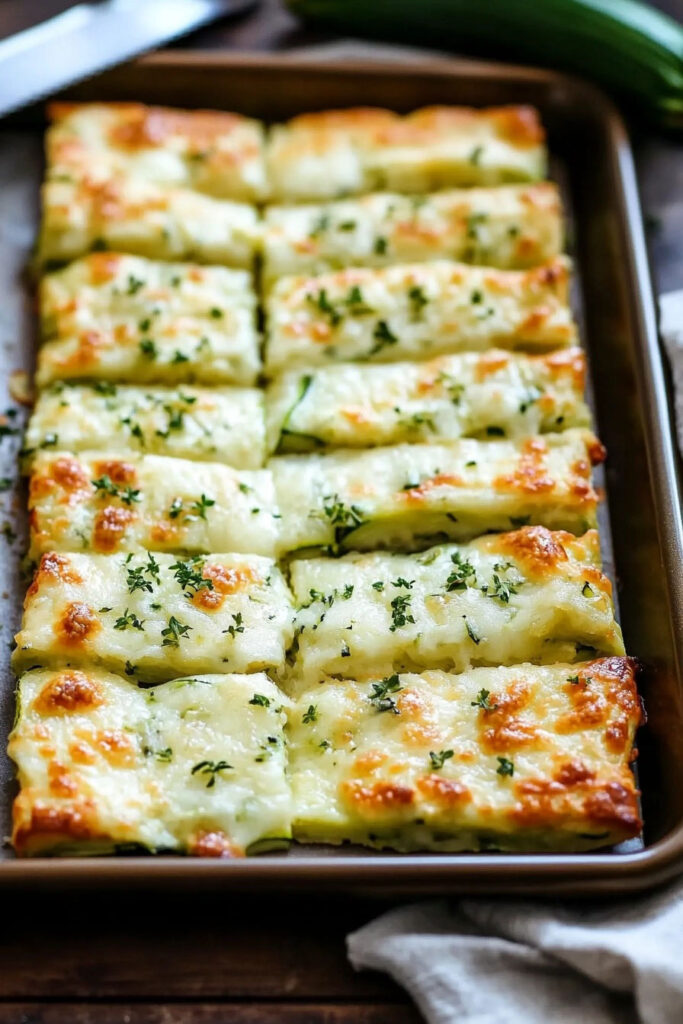
- Remove the baked zucchini base from the oven and sprinkle 1 cup of grated cheese (your choice) evenly on top. Mozzarella or a Mexican blend works wonderfully for that gooey, cheesy finish.
- Return the baking sheet to the oven and bake for an additional 2–5 minutes, just until the cheese melts and turns golden brown.
Step 6: Slicing and Serving
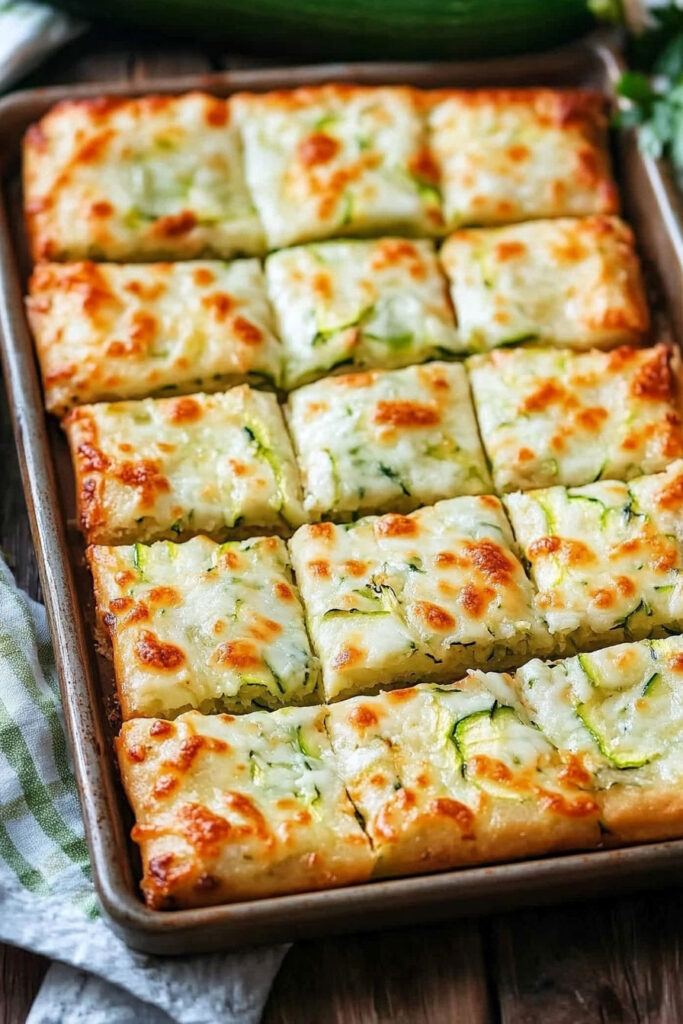
- Once baked, let it cool slightly before slicing into breadstick shapes using a sharp knife or pizza cutter. Serve immediately while still warm and gooey!
These breadsticks pair perfectly with marinara sauce or ranch dressing for dipping. They’re crispy on the edges, cheesy on top, and packed with flavor in every bite!
Frequently Asked Questions (FAQs)
1. Can I make these breadsticks ahead of time?
Yes, you can prepare the zucchini mixture ahead of time and store it in the refrigerator for up to 24 hours. When ready to bake, simply spread the mixture on a baking sheet and follow the recipe instructions.
2. How do I store leftover breadsticks?
Store any leftovers in an airtight container in the refrigerator for up to 3 days. To reheat, place them in an oven or air fryer at 350°F for a few minutes to restore their crispiness.
3. Can I freeze these breadsticks?
Absolutely! After baking, let the breadsticks cool completely, then freeze them in a single layer on a baking sheet. Once frozen, transfer them to a freezer-safe bag or container. Reheat directly from frozen in the oven or air fryer for best results.
4. What can I use as a dipping sauce?
These breadsticks pair wonderfully with marinara sauce, ranch dressing, or even garlic butter for dipping. You can also try a creamy avocado dip for a low-carb option!
5. Can I use other vegetables instead of zucchini?
Yes, you can substitute zucchini with grated cauliflower or even spaghetti squash for a similar low-carb base. Just make sure to squeeze out as much moisture as possible from the vegetables before mixing.
6. Are these breadsticks keto-friendly?
Yes! With minimal carbs and high-fat cheese, these breadsticks are perfect for those following a keto diet.
Conclusion
Low Carb Cheesy Zucchini Breadsticks are an irresistible snack or appetizer that combines health and indulgence in every bite. With their crispy edges, cheesy topping, and low-carb goodness, they’re perfect for anyone looking to enjoy comfort food without compromising on their dietary goals. Whether you’re hosting a party or simply treating yourself, these breadsticks are sure to impress!
Give this easy recipe a try and let me know how it turns out—your taste buds will thank you!
